
How to Deconstruct and Choose a Goodwill Frame

A professional frame or even a good frame is very pricey the bigger you want it. And seeing how I wanted to something to frame my 11x14 picture, you were not about to see me spend $60. I'm too cheap, but I still like to be classy. Which is where this post may come in handy for you the next time you want to frame a gigantic photo and not want to spend the big bucks! And still be classy.
The first step is to check out your local Goodwill second-hand store. The best times to go are before and after summer when people are spring cleaning or going through all their stuff to have a yard sale. Sometimes it takes a few trips to get what you want, but have patience! It will come! I found this beauty at my local Deseret Industries and I know she's not a looker, but just try to look over the old floral decor and dig deep:
1. Check out the glass. Are there scratches? Scrapes? Chips? If there is sticky residue, don't fear. That will usually come off.
2. How's the frame? Is it cracked? Wood? Vinyl? Will the paint treatment you want to use work? Is it STURDY? (This can also be good to check for when looking for smaller frames like 8x10's and you want it to stand on its own using the flip-out stander thing. Sometimes those can be flimsy! Check it!)
3. Check the back. Are the staples tough? Are too many missing? If you don't think you can replace them yourself, put it back. It's not worth it.
You know you've hit the jackpot when everything clears the check points above and the back is SEALED with kraft paper. That means this framed piece was most likely professionally custom framed so it's very high quality. You've just scored yourself a $60+ frame for less than $10. Boo-yah!

Now that you have your frame, it's time to make it the way you want it. Because, chances are, it's not the color you want it to be when shopping second-hand. So we need to take it apart and give it a make over.
1. If you scored a professionally custom frame, you'll need to strip off the kraft paper in the back. To do this without losing your mind, get a box cutter or tracing razor and cut it along the inner frame edge.

2. Strip off all the paper so you can better see what you're working with. For me, I noticed my staples were dug deep into the cardboard, which doesn't always happen, but in this instance it did.

3. Lift up the staples so you can remove everything inside: cardboard, picture, glass. I like to just use a butter knife.


4. Clean it up to prep for paint. I like to use Windex. It helps get the sticky stuff and dust off really good.

5. Lay down wax paper. I also covered the wire that was attached so I wouldn't get paint on it. That's optional and some frames don't have wires in the back.

6. Paint it. I would consult with the paint people at Home Depot or where ever you go on what type of paint would be best for your project.

7. After it has dried for the required amount of time, it's ready for your picture to be framed. Clean up the glass. Now if it has sticky stuff on it, try scrubbing with Windex. If that can't get it off, try using a razor blade and gently nick it off using a side-swiping motion. Don't put pressure down on the glass, but slide it across.
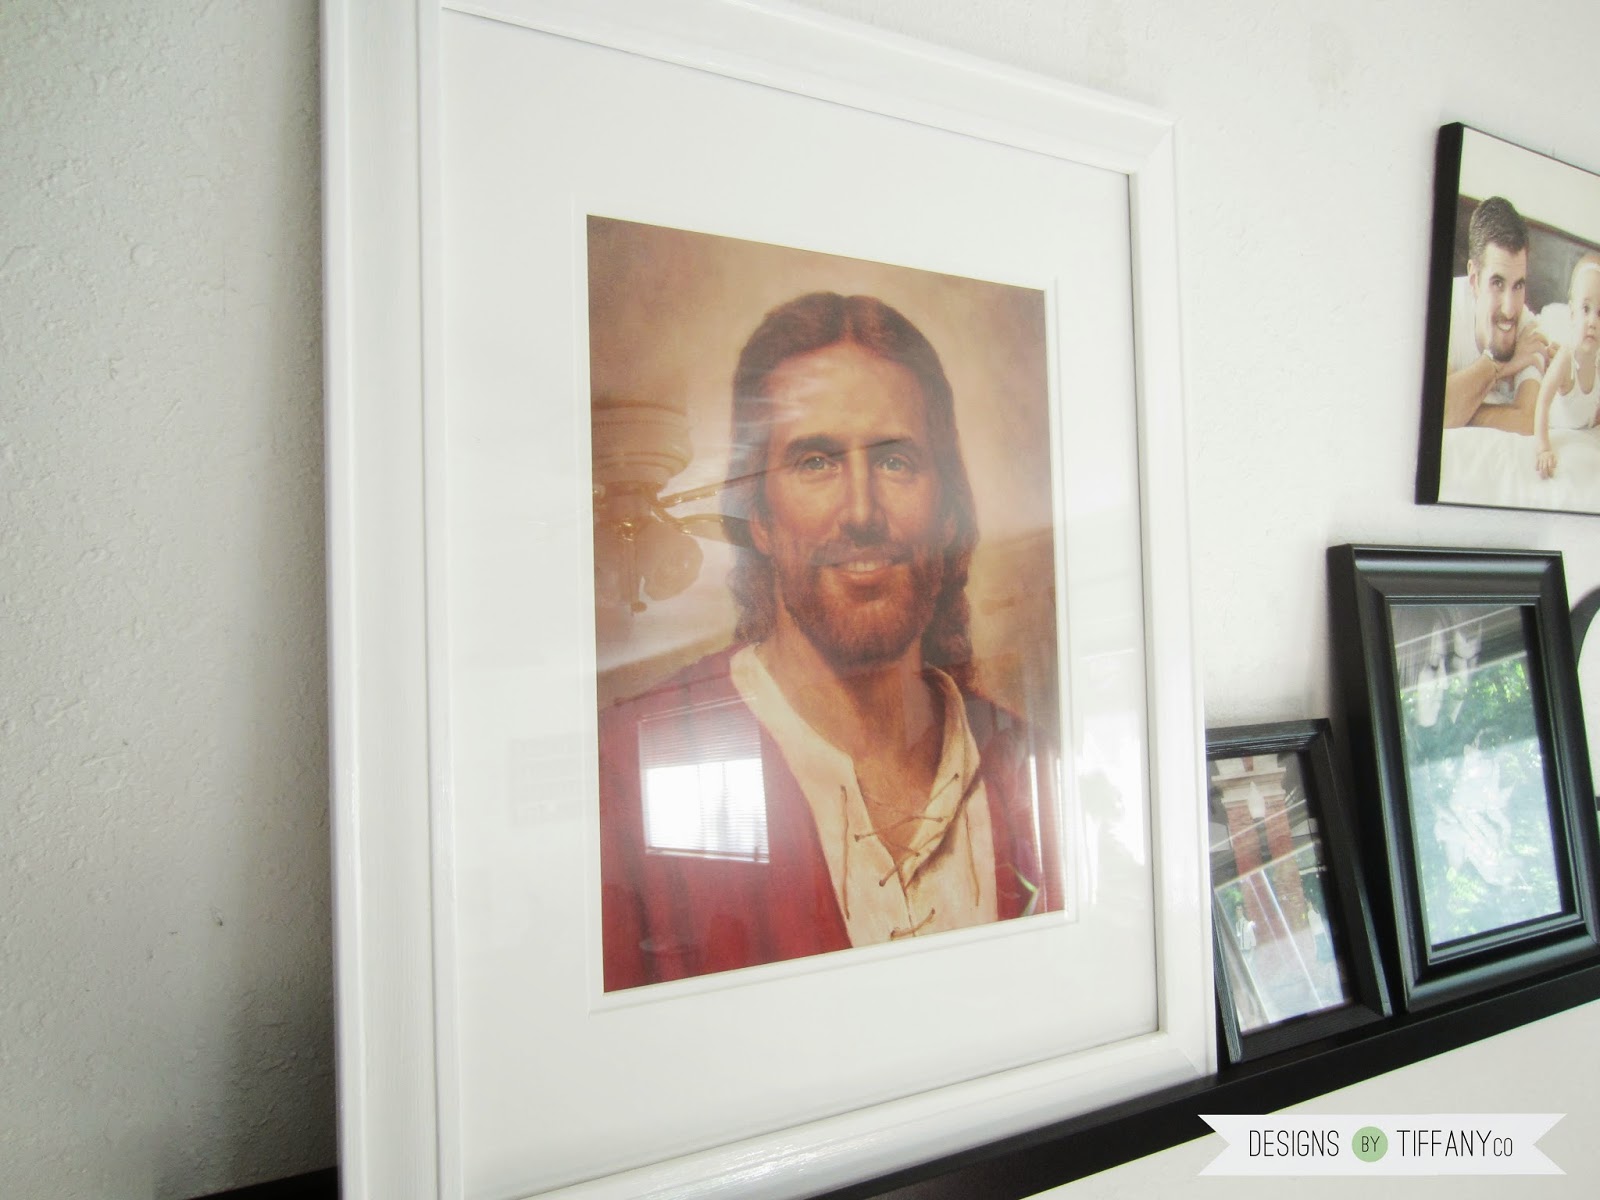
I needed to buy a new matt, so I got mine at Hobby Lobby while using their 40% off coupon for it. Glass it, matt it, tape the picture on, cardboard it and butter knife the staples back over.
Now you've got yourself a brand new giant frame! For only half the cost.

0 comments