
Test Pin & Tutorial: Photo on Canvas
Test Pin/Tutorial: How to put a photo on canvas.
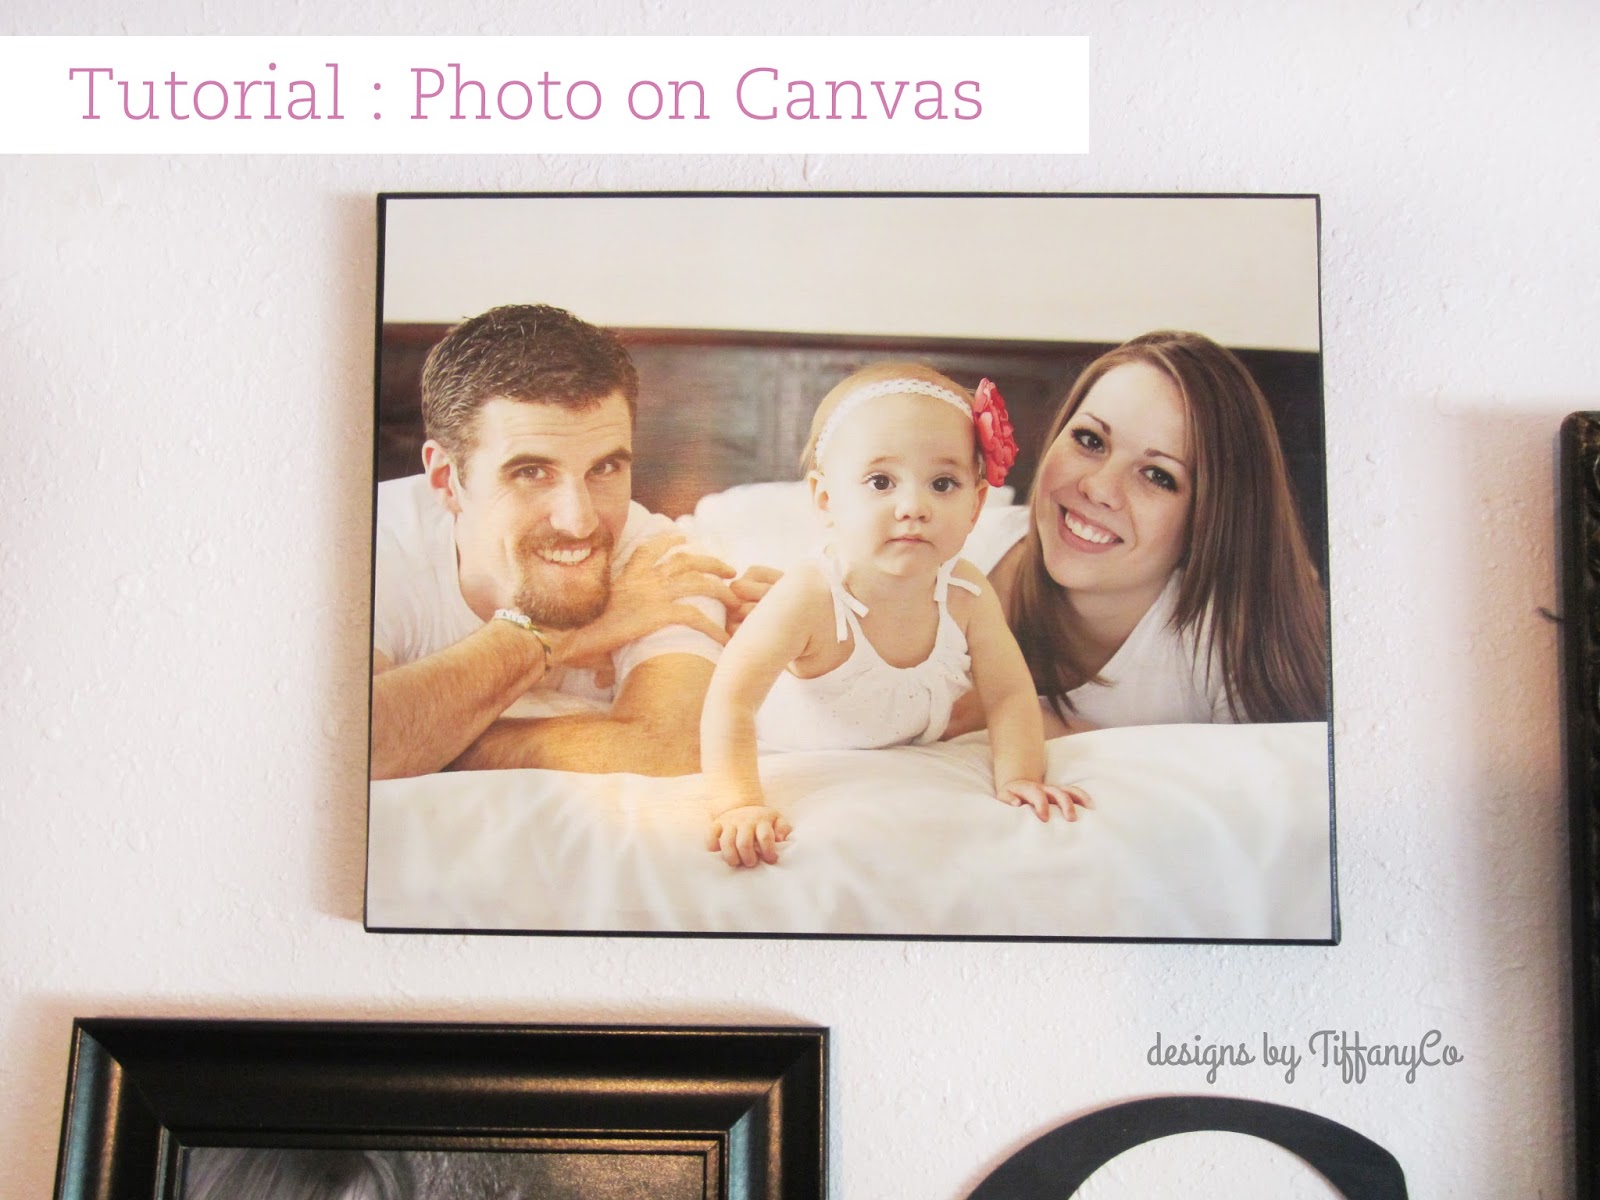
Guys, I have done this a lot. It really works! And I'm super cheap, so I'm getting a canvas look for less than half the cost!! Whoo! This is where I first saw the idea and put it to the test here. She used pieces of wood to make it even cheaper, so you're welcome to follow her instructions if you would like. I almost did mine with wood. I got a big wood board for $1 in the scraps pile at Lowe's only to find out later that they don't do artsy cuts... Which made it so I have this huge wood board sitting around wondering what the heck I'm going to do with it! That will come later. But for now, because I couldn't get that board specifically cut, I decided to just buy a plain canvas and start the whole process from there. So here we go!
Tools you will need:
a canvas that fits the size of your photo
(What I'm doing is 11x14. Bigger is always better.)
your photo
craft paint of your choice
(With my photo I did black, but with what I'm about to show you I did grey.)
a sponge paint brush
Modge Podge
two food cans
paper plate

Step 1: Paint the sides of your canvas. It will take several layers, so be patient and wait until each layer dries so it looks clean and neat. As it dries, place on top of your cans so it doesn't stick to your newspaper or gets mushed around.
 |
| Get those corners! |
Step 2: After your paint job is done, now it's time to put on your photo! Now this step needs to be done quickly because the Modge Podge dries pretty fast. First, dump out a big glop of Modge Podge onto a paper plate to make the applying easier. Then cover your brush very generously with Modge Podge and apply it all over the canvas.


Quickly stick your photo on making sure it's straight and in place and smooth it out.

Then hurry and apply more Modge Podge on top of the photo, brushing back and forth over the entire photo because it will dry with some mini streaks in it. So you will notice spots that didn't get an application. Then be sure to get the edges, which is very important because that's one way it holds together well. Make sure to get into the creases and corners.
Make sure it's all very even because although it dries clear, you will notice lumps and gumps if they're not smoothed out.

 |
| My husband thought this was a cool angle. We're getting all sorts of arsty over here! |
Step 3: Then put on your cans to dry! And after it dries, it's done!

Before you go off and celebrate this simple, cheap craft, I suggest not using paper! Paper would make this cheaper than it already is, but I have tried it. Modge Podging paper onto canvas is not the way to go! It crinkled and stuck together and the ink smeared onto everything. It was awful. So go to a photo center and you should be good to go.
Another tip: I got my canvases at Wal-Mart 2 for $8. Add that up with the cost of the photo and each one is less than $10! Compare that to getting it actually printed on canvas and, well, it can't be comparable!
This application has seriously changed my life. This is definitely a thumbs up for a great Pin!

2 comments
Great tutorial! I'm terrible at this stuff so clear, idiot-proof steps are so helpful. We should collaborate on a giveaway! Your etsy stuff is so cute.
ReplyDeleteWow, this is a fabulous idea! I'm so glad I found this before I went to print all my photos. SO much cheaper and I don't have to buy a nice frame for everything. Thanks! :)
ReplyDelete