Facebook Instagram Pinterest Shop

Designs by TiffanyCo

  • Home
  • Freebies
  • DIY Projects
  • Parties
    • Birthday
    • Baby Shower
  • Portfolio
  • Design Service Prices
  • Etsy Shop
  • About
  • Contact
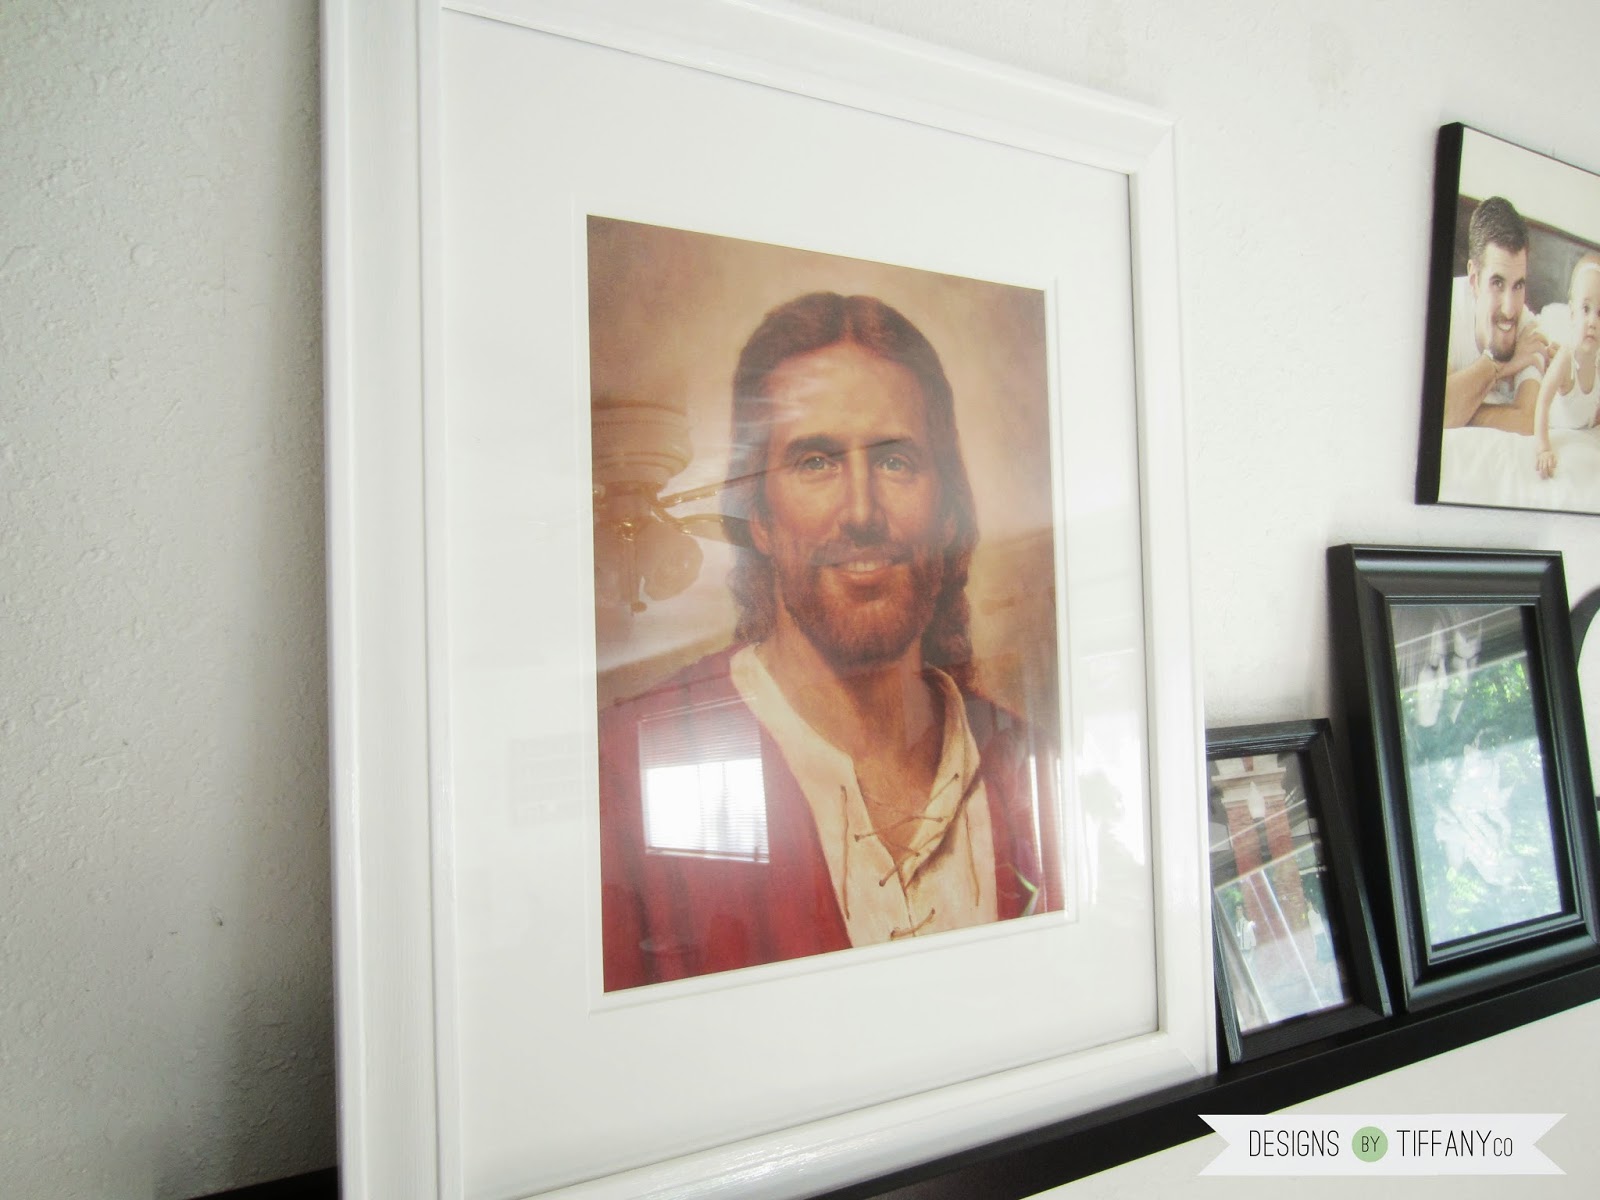
A professional frame or even a good frame is very pricey the bigger you want it. And seeing how I wanted to something to frame my 11x14 picture, you were not about to see me spend $60. I'm too cheap, but I still like to be classy. Which is where this post may come in handy for you the next time you want to frame a gigantic photo and not want to spend the big bucks! And still be classy.

The first step is to check out your local Goodwill second-hand store. The best times to go are before and after summer when people are spring cleaning or going through all their stuff to have a yard sale. Sometimes it takes a few trips to get what you want, but have patience! It will come! I found this beauty at my local Deseret Industries and I know she's not a looker, but just try to look over the old floral decor and dig deep:
1. Check out the glass. Are there scratches? Scrapes? Chips? If there is sticky residue, don't fear. That will usually come off.
2. How's the frame? Is it cracked? Wood? Vinyl? Will the paint treatment you want to use work? Is it STURDY? (This can also be good to check for when looking for smaller frames like 8x10's and you want it to stand on its own using the flip-out stander thing. Sometimes those can be flimsy! Check it!)
3. Check the back. Are the staples tough? Are too many missing? If you don't think you can replace them yourself, put it back. It's not worth it. 

You know you've hit the jackpot when everything clears the check points above and the back is SEALED with kraft paper. That means this framed piece was most likely professionally custom framed so it's very high quality. You've just scored yourself a $60+ frame for less than $10. Boo-yah!
Now that you have your frame, it's time to make it the way you want it. Because, chances are, it's not the color you want it to be when shopping second-hand. So we need to take it apart and give it a make over. 

1. If you scored a professionally custom frame, you'll need to strip off the kraft paper in the back. To do this without losing your mind, get a box cutter or tracing razor and cut it along the inner frame edge.
 2. Strip off all the paper so you can better see what you're working with. For me, I noticed my staples were dug deep into the cardboard, which doesn't always happen, but in this instance it did.
3. Lift up the staples so you can remove everything inside: cardboard, picture, glass. I like to just use a butter knife.

4. Clean it up to prep for paint. I like to use Windex. It helps get the sticky stuff and dust off really good.
5. Lay down wax paper. I also covered the wire that was attached so I wouldn't get paint on it. That's optional and some frames don't have wires in the back.
6. Paint it. I would consult with the paint people at Home Depot or where ever you go on what type of paint would be best for your project.
7. After it has dried for the required amount of time, it's ready for your picture to be framed. Clean up the glass. Now if it has sticky stuff on it, try scrubbing with Windex. If that can't get it off, try using a razor blade and gently nick it off using a side-swiping motion. Don't put pressure down on the glass, but slide it across. 

I needed to buy a new matt, so I got mine at Hobby Lobby while using their 40% off coupon for it. Glass it, matt it, tape the picture on, cardboard it and butter knife the staples back over. 

Now you've got yourself a brand new giant frame! For only half the cost. 

Share
Tweet
Pin
Share
No comments
 
For my family summer vacation, we went to Washington state and seeing how my husband and I were traveling with a toddler, I wanted to make sure she had plenty to do during the 2 hour flight and 4 hour drive to our destination - and back. The dollar section in Target was bliss, as always, but I wanted something a little more new than coloring packs and stickers.

My little girl loves animals and knows all of the basic ones and more. The usual ones are always repeated in the same books, so her knowledge wasn't expanding. So I decided to make her a book full of unusual animals so she could learn the different ones! She's also at that stage where she's interested in her ABC's, so I tackled 2 birds with one stone and did a weird animal for each letter of the alphabet. I've even learned a lot from this project! I mean, who's ever heard of a numbat or a quoll??


I used thick interfacing on the felt letters to make sure they would last and not tear after being pulled off the velcro by a not-so-totally-coordinated toddler.
armadillo . beluga whale . capybara . dingo . eel . flying fish . gecko . hedgehog
impala . jellyfish . kiwi bird . lemur . manta ray . numbat . ostrich . platypus
 quoll . red panda . sloth . tarsier . uakari . vulture . wildebeest . x-ray tetra . yak . zebra
Share
Tweet
Pin
Share
No comments
My shop's first anniversary was a few weeks ago! Although I still haven't made it big, it's still amazing to see all that's happened for this little ol' shop through this first year:
1. Shortly two months after opening up my shop, one of my pieces was featured on the Disney Baby Blog! Pretty crazy. Opportunities like that don't just pop up after only being around for two measly months! And this still is my bestseller by the way. 
2. Although this is meant to be a design blog for my little business, I've put up some craft tutorials every once in awhile too. This one is by far my most popular post. Guess people are gettin' all greeny with recycled art! I've also found that my DIY posts are the most visited... guess I should keep doing this kind of stuff!
3. Mr. Epson was added to the family so I could really keep my home business a HOME business and not need to travel to get my pieces printed. So nice to be able to keep it all organized in one place.
4. I had my first craft fair, which didn't go well, but was something I have always wanted to do. Hopefully something good will turn out from it!

5. I've gotten 2 clients to work with since I put up a Facebook page for my business. I had no idea I'd be getting design clientele from it. I made a page just so there was another place to add more publicity to my blog and shop. Who knew it would bring in more? I don't exactly like doing work for clients, as I've come to find out, but I'll do what I gotta do for now.

I wanted to do a giveaway along with this, but I wanted it to be something new. Which, sadly, I haven't done yet. I've got ideas in the works, so it's at least a start. Just be on the lookout for another giveaway celebrating my shop turning one, because that to me is something worth celebrating!
Share
Tweet
Pin
Share
1 comments
Newer Posts
Older Posts

Hi There

My purpose for having this blog is to inspire you for everyday life by adding more fun with my DIY tutorials or products from my Etsy shop. I like to keep things beautiful and easy.


Follow Along

  • Facebook
  • Instagram
  • Pinterest
  • Bloglovin'
  • Shop

recent posts

Sponsor

Blog Archive

  • ►  2017 (27)
    • ►  November (2)
    • ►  October (3)
    • ►  September (2)
    • ►  August (1)
    • ►  July (1)
    • ►  June (3)
    • ►  May (4)
    • ►  April (4)
    • ►  March (3)
    • ►  February (2)
    • ►  January (2)
  • ►  2016 (43)
    • ►  December (6)
    • ►  November (6)
    • ►  October (4)
    • ►  September (3)
    • ►  August (1)
    • ►  July (1)
    • ►  June (3)
    • ►  May (6)
    • ►  April (6)
    • ►  March (5)
    • ►  February (2)
  • ►  2015 (29)
    • ►  December (4)
    • ►  November (2)
    • ►  October (2)
    • ►  September (3)
    • ►  August (1)
    • ►  July (3)
    • ►  June (4)
    • ►  May (3)
    • ►  April (2)
    • ►  March (1)
    • ►  February (2)
    • ►  January (2)
  • ▼  2014 (40)
    • ►  December (7)
    • ►  November (4)
    • ►  October (5)
    • ►  September (3)
    • ▼  August (3)
      • How to Deconstruct and Choose a Goodwill Frame
      • ABC Animals Quiet Book Ideas
      • Designs by Tiffanyco's First Anniversary!
    • ►  July (1)
    • ►  June (2)
    • ►  May (3)
    • ►  April (2)
    • ►  March (2)
    • ►  February (4)
    • ►  January (4)
  • ►  2013 (32)
    • ►  December (2)
    • ►  November (5)
    • ►  October (3)
    • ►  September (4)
    • ►  August (6)
    • ►  July (6)
    • ►  June (3)
    • ►  May (3)

Labels

  • DIY Tutorial
  • Holiday
  • Client Work
  • Freebie
  • Printable Download
  • Invitation Design
  • Realness
  • Birthday Party
  • My Products
  • Giveaway
  • Christmas Card
  • Craft Fair
  • Announcement
  • Gift
  • Baby Shower
  • Logo
  • VIDA Products

Search

Facebook Twitter Instagram Pinterest Bloglovin
FOLLOW ME @INSTAGRAM

Created with by BeautyTemplates